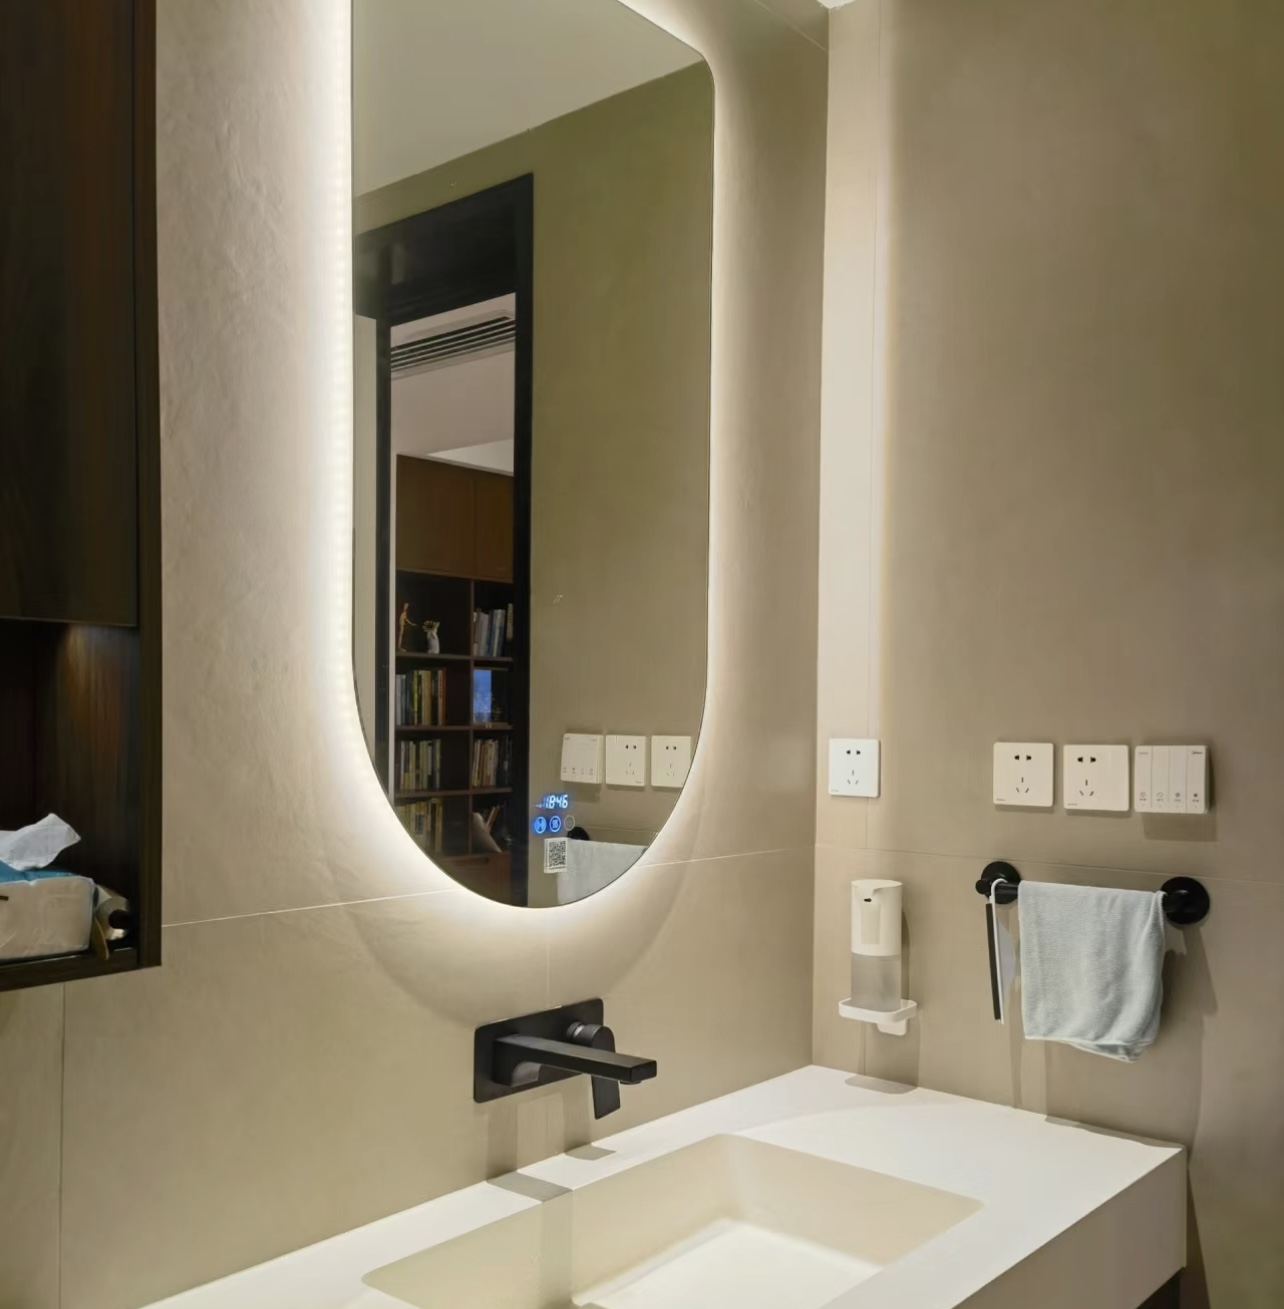
This post shows a step-by-step guide to making a DIY backlit mirror for your bathroom.
It’s the starting month of the year, so what better time than now to take on a DIY project to make your home an even better place? The DIY Backlit LED Mirror is a great place to start.
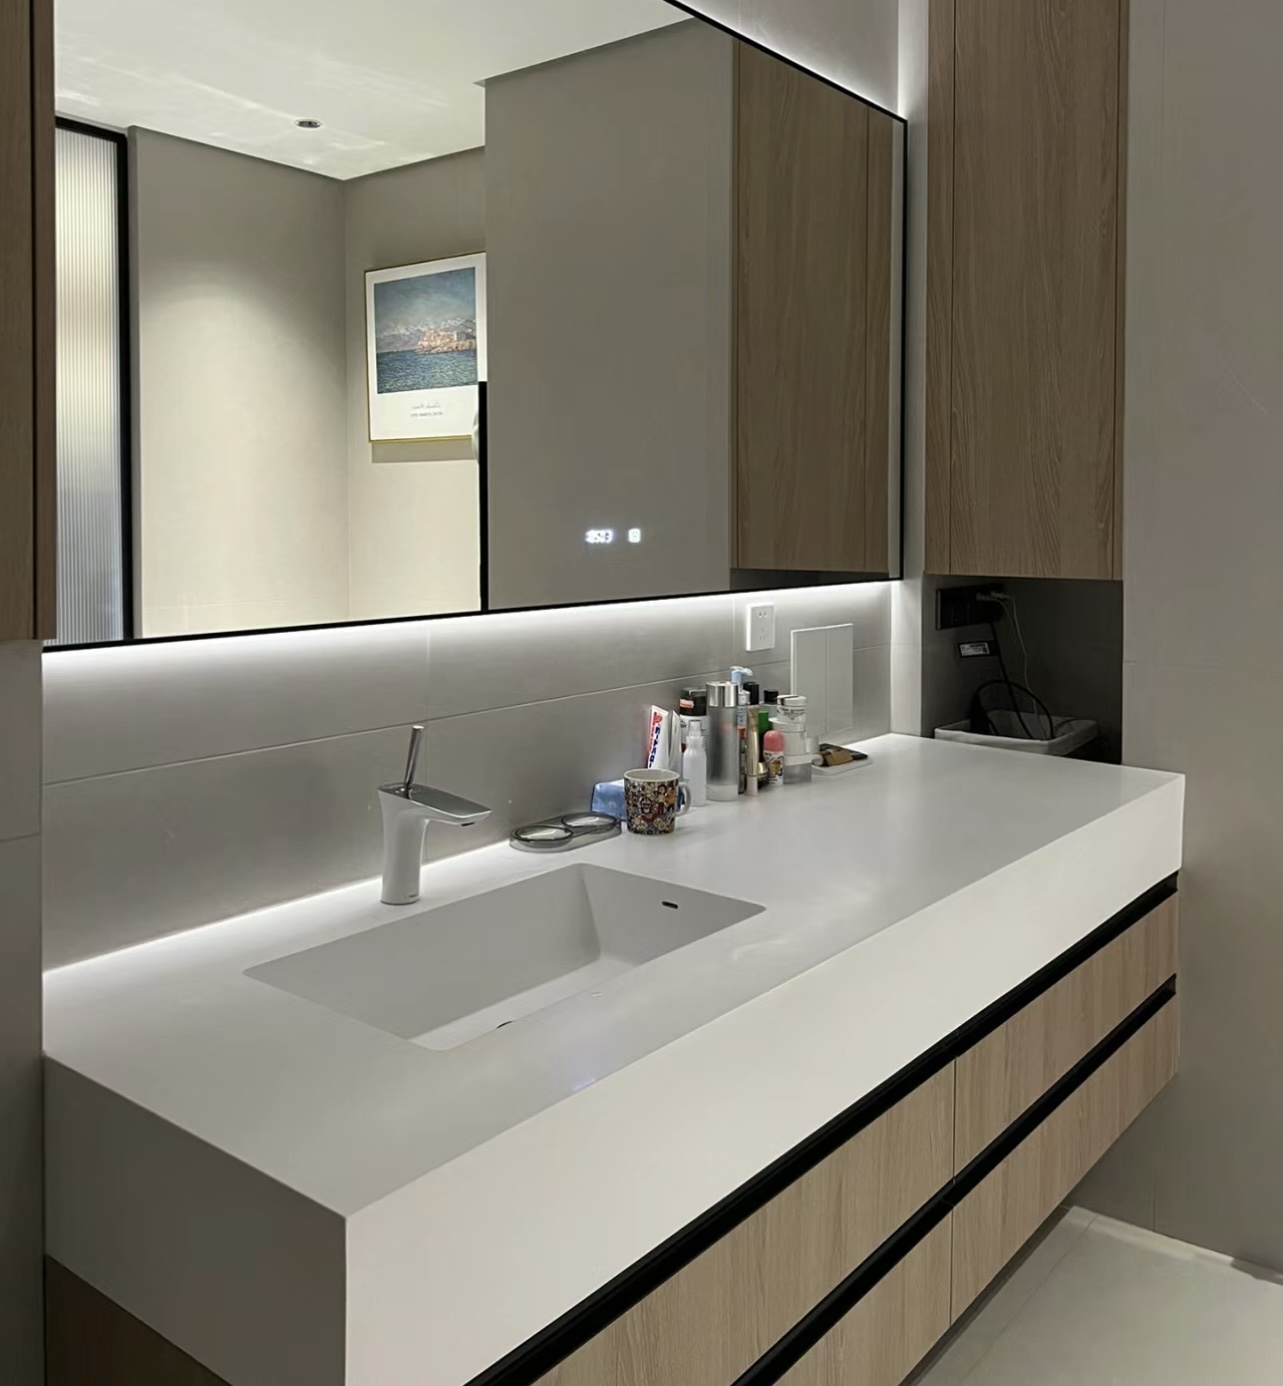
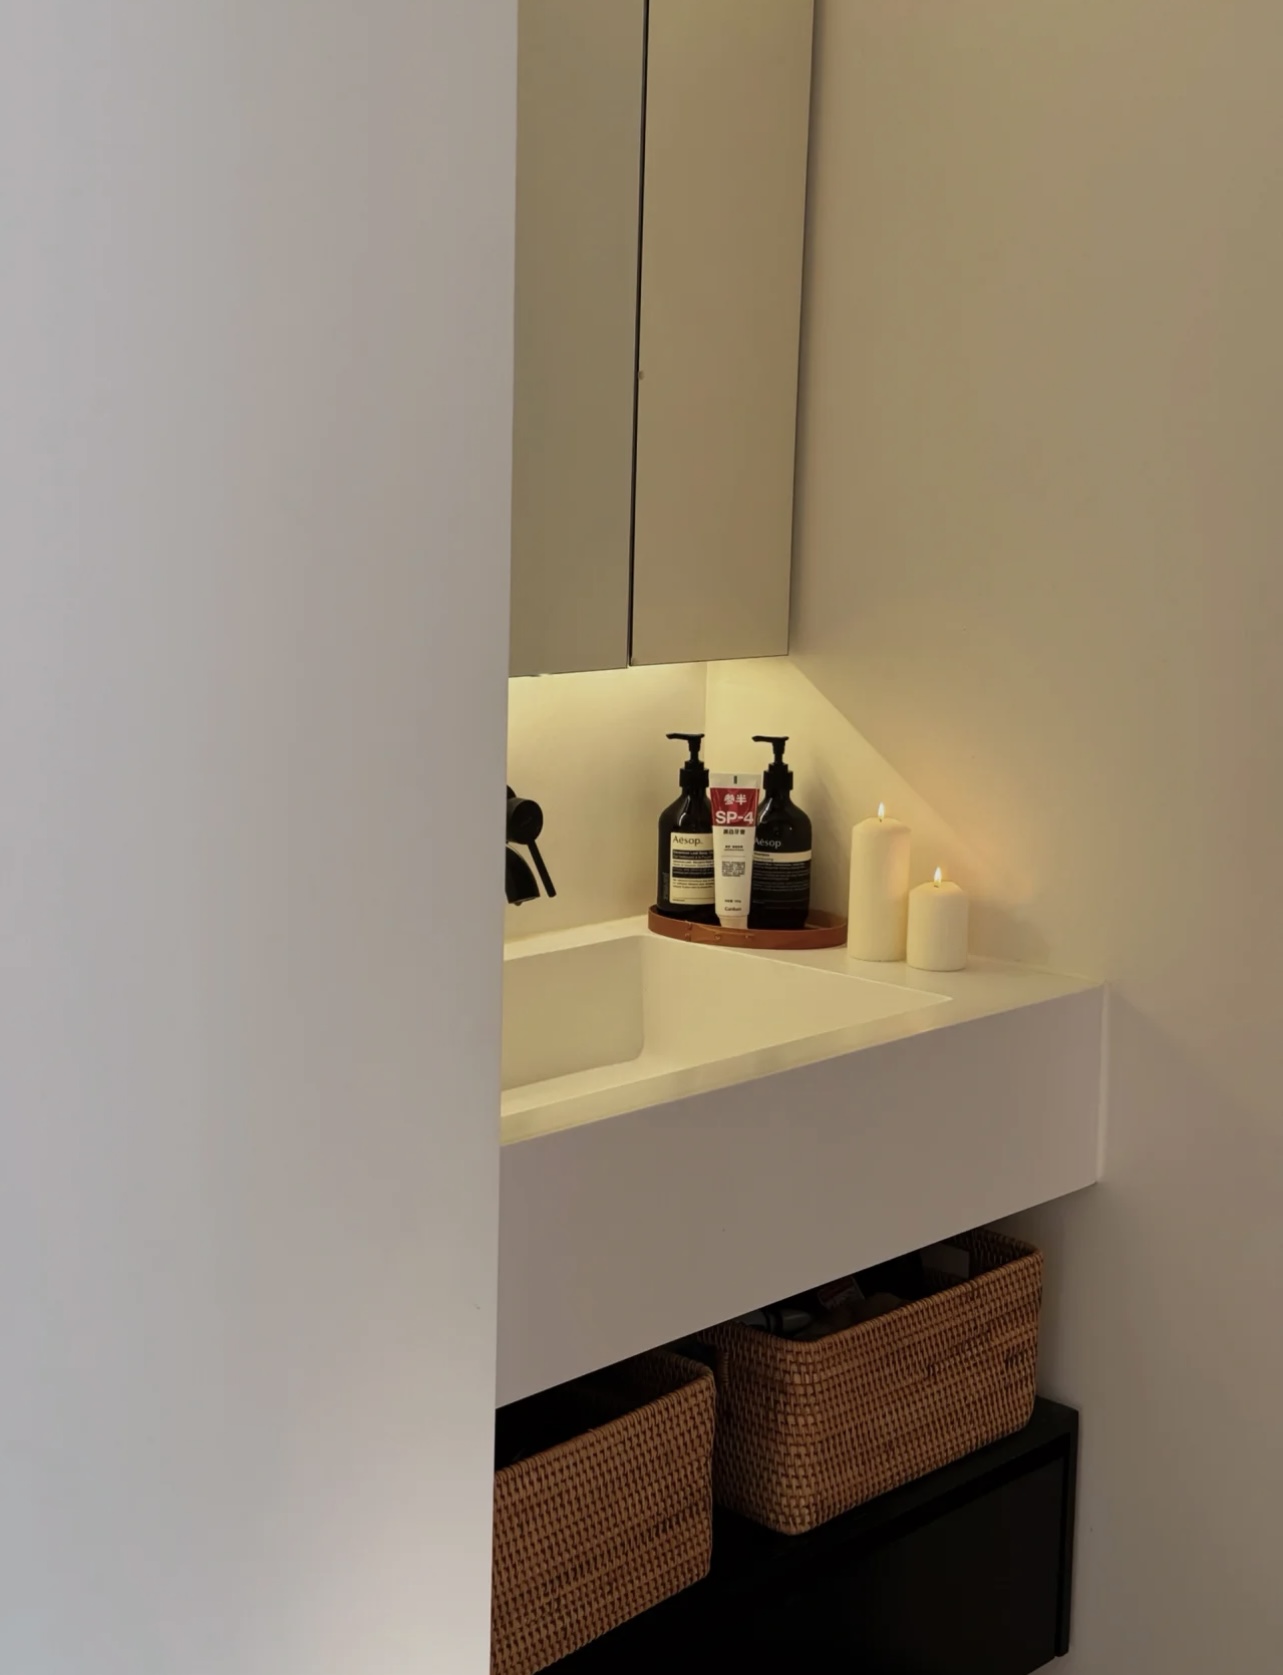
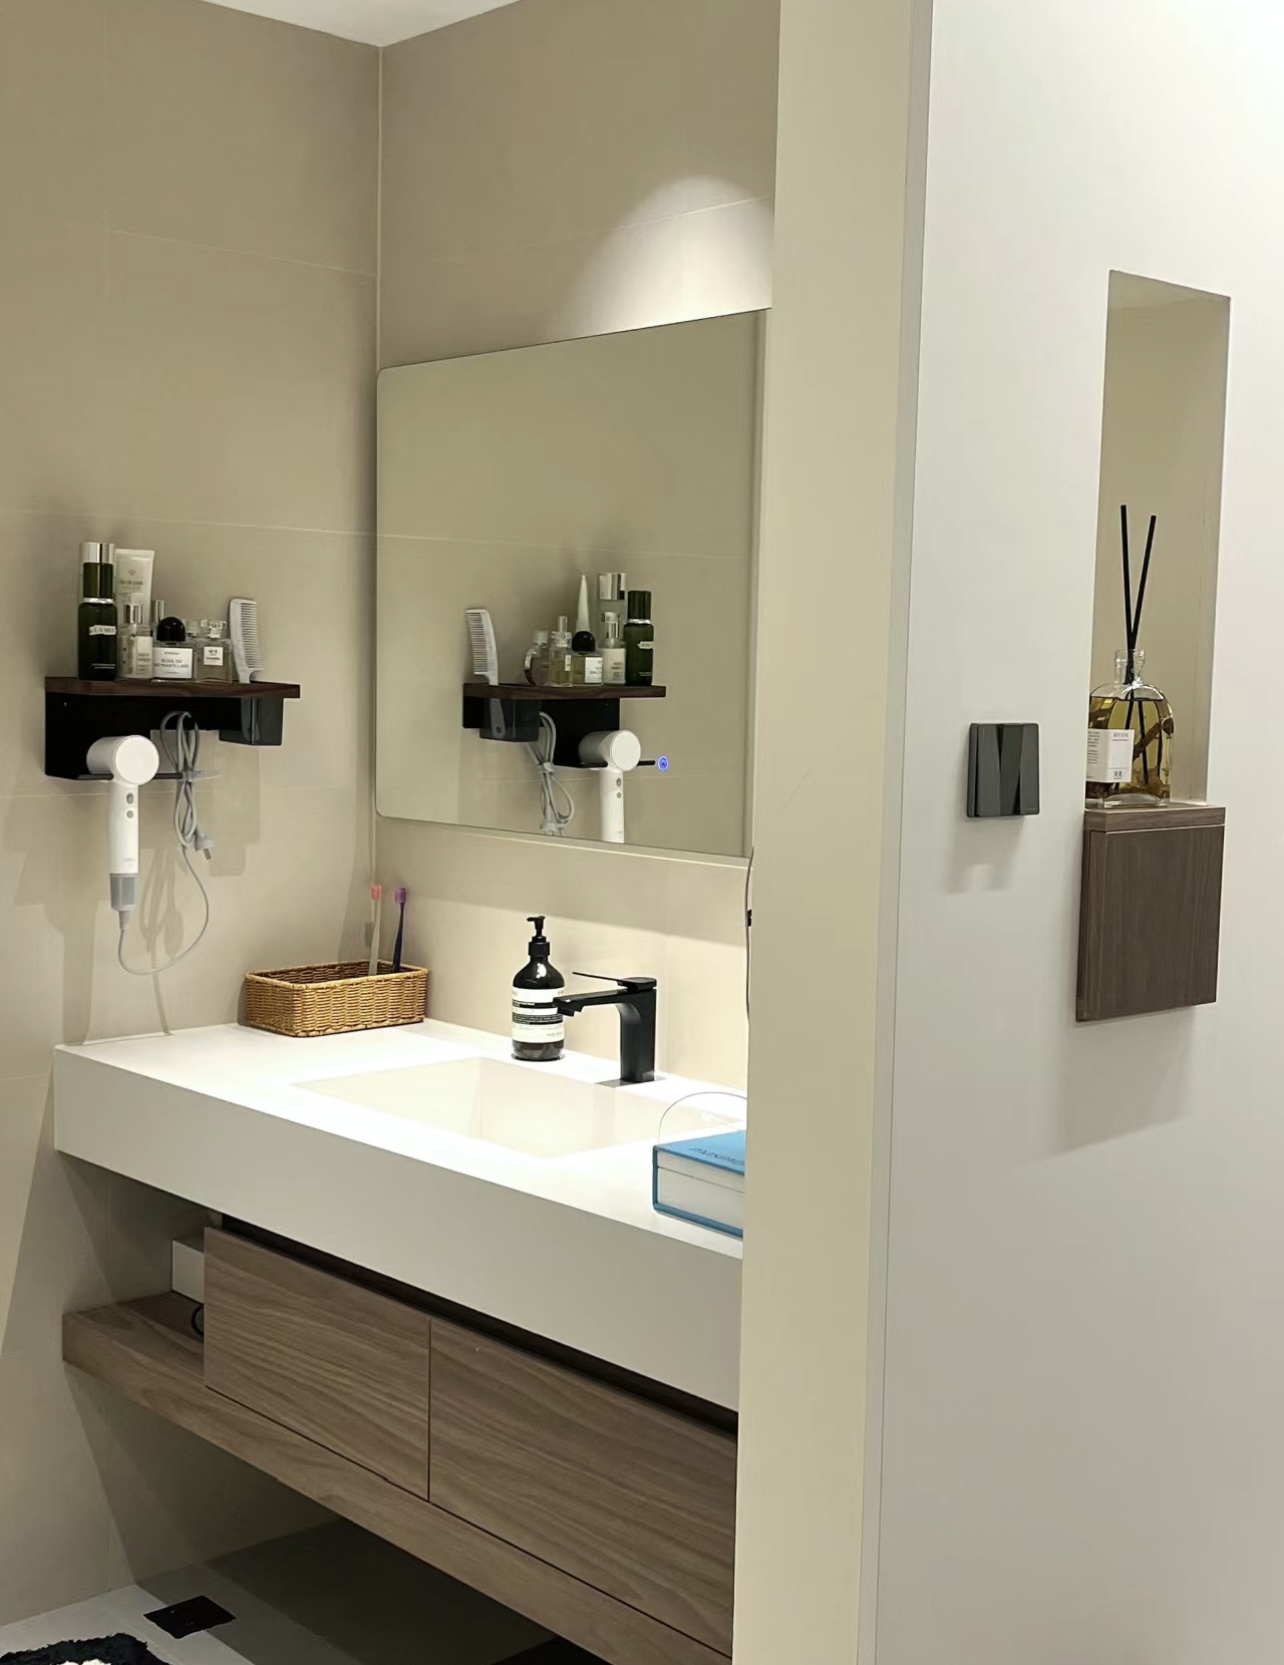
I’m practical most of the time, and adding a backlit LED mirror to my bathroom is the perfect idea. Adding lighting in the back of the mirror is something you don’t know you need. But it is life-changing!

I’ve been using the backlit mirror as a makeup mirror. The best part is it allows me to enjoy my self-care ritual even more. And my boyfriend has grown to love to shave in that mirror. It is incredibly practical to benefit daily usage, but also sensational for a daily mood boost.
Now that I have succeeded in this DIY project, I can guarantee my expert tips are dummy-prove and easy to follow. Follow along for the best DIY yet-to-have a backlit mirror through light strips.
1. Materials and Tools
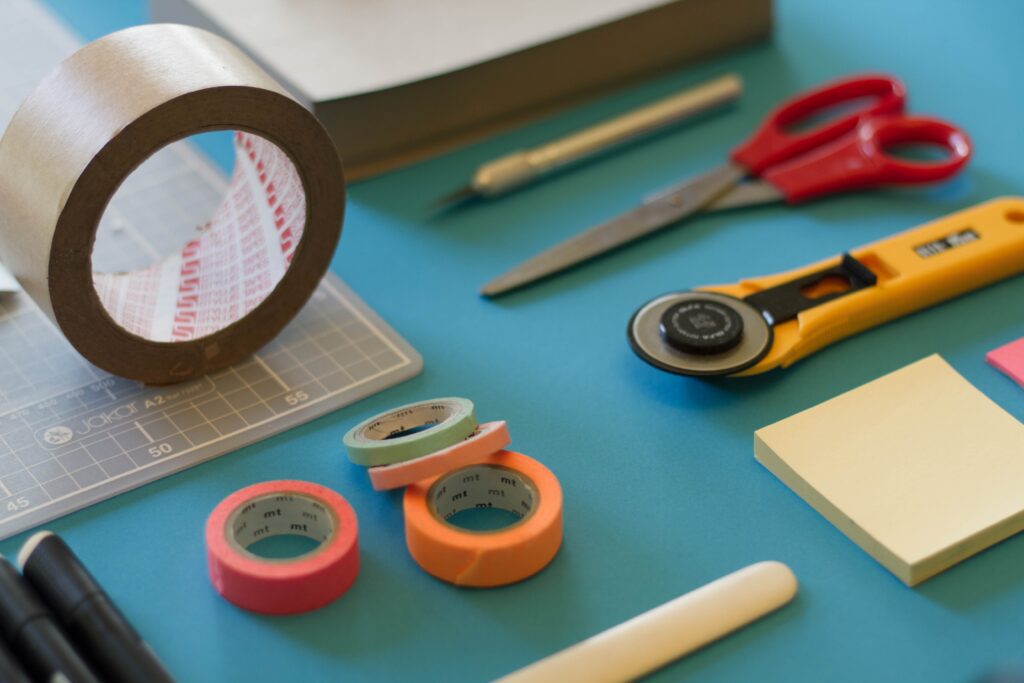
The fun part is always collecting all the necessary tools.
To build the backlit mirror, here’s a simple list of materials and tools you would need:
- check if there’s power available to connect
- power source cable
- LED light strip
- scissors or craft knife
- Measuring tape
- LED strip to power supply connector
- power source cable
- Wood glue (not necessary)
2. Planning Your Design
Check out your existing mirror. What are its size and shape? Make a mental plan on where and how to place the LED strip lights.
You can also sketch out the design on paper or using design software. Of course, it is not necessary. I just love doing it as it makes me feel like an interior designer.
3. Preparing the Mirror
Measure your mirror frame from about 2 inches from the edge to find the length of the light strip you need.
Check the type of mirror:
- If your mirror is rectangular, measure the edges and all of the lengths together
- If your mirror is circular, measure the distance between the top point and bottom point and multiply it by 3.14.
- If you already have light strips, you can simply ignore the measuring part and place it wherever you want to attach it to see how long you need (without removing the adhesive).
You would also need to clean the back of your mirror. I normally go for double cleansing, then air dry to the fullest.
4. Wiring the LED Lights
Once you’ve settled down on the proper length of the LED strip, the next step cut off the excess. Be sure to cut only as indicated, aka to look out for a sign depicting scissors on the tape.
Attach your LED light strip to the surface with proper spacing and alignment, a big difference.
Don’t dare to remove the backing all at once – I’ve learned the hard way. Instead, remove it slowly as you move along the edge, attaching the LED tape. This will increase the success rate of securing the lights to a close 100%.
5. Connecting & Testing
The connector connects the light strips to the power source cable or power supply.
Check if everything is well connected. You can then test out the functionality of the LED lights. Make any necessary adjustments to the placement or alignment.
6. DIY Backlit LED Mirror Well Done

Now you can hang back your backlit mirror and clean the mirror and frame. Last but not least, you can now admire the finished DIY backlit LED mirror with its aesthetic functions for however long you’d like.
It is not intimidating to transform your ordinary bathroom mirror with a stunning backlit LED light strip.
I love LED lights because they create a soothing ambient light and a glowing effect for my daily beauty routines, adding a touch of luxury.
I hope this step-by-step guide is clear and concise enough for all my audiences. For one, I feel more empowered standing in front of the mirror that I created; it definitely makes a big difference.